Agency is a new WordPress business theme, built for professional designers who want their design website to reflect their skill and show off their portfolio.
Getting Started
Once the Agency theme is installed and activated, you’ll find a number of new panels on your WordPress admin menu.
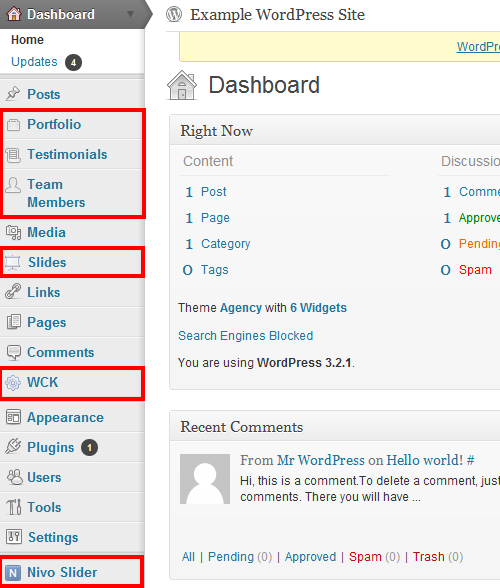
Before you start adding content to your site, you’ll should customize the appearance to fit with your own branding. In your admin menu, under the Appearance panel, you can upload new images for the site header and background.
Under Appearance › Theme Options you can make some further design tweaks. This is also where you add the contact and social media details for your business. It’s important to give prospective clients as much contact info as possible, so don’t skimp here. Ideally, you should include your physical address, phone number, email address and social media profiles.
The Anatomy of the Agency Theme
The theme uses a custom homepage template to showcase the most important aspects of your business.
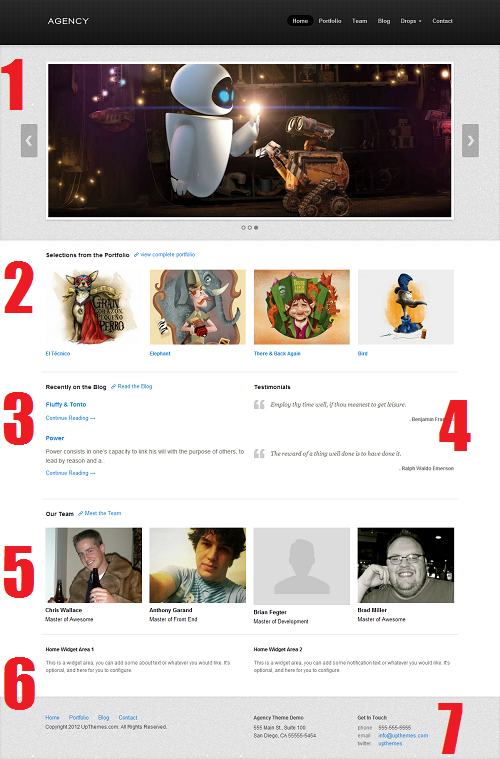
- Main image slider
- Portfolio samples
- Most recent blog updates
- Client testimonials
- Team member profiles
- Custom widget area
- Site footer with contact details
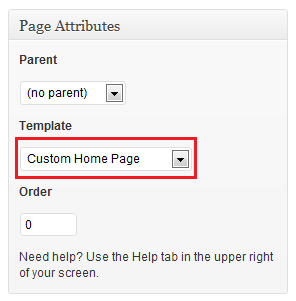
You don’t have to use this custom template, but you’ll get the most out of the Agency theme if you do. To set it up, you need to create a new WordPress page entitled “Home”. (Call it something else if you like). You don’t need to add any text content.
Before you hit Publish, find the Page Attributes panel (to the right of the text editor) and select Custom Home Page from the drop-down template list.
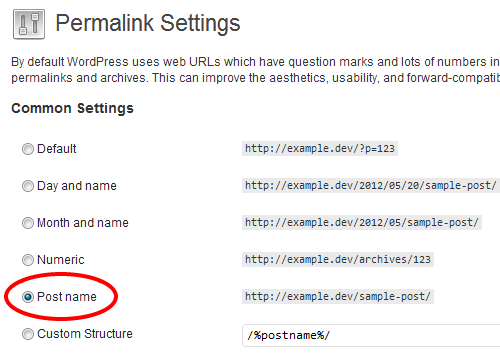
Make sure that you’re using the “Post Name” permalink structure. In your admin menu open Settings › Permalinks and select the Post Name option. This ensures that your nav menu links will point to the right pages, and makes your URLs look neat and tidy.
Using the Image Slider
The image slider is the centerpiece of the Agency theme. This is the first thing prospective clients will see when they land on your homepage, so it’s important to showcase your best work or promotional content here.
To add content to the slider, open Slides › Add New. You need to create a new slide for each image that you want to display. Upload your file and select Use as Featured Image. From this interface you can also add a title and subtitle, and link the slide to a specific URL, e.g. a page in your portfolio.
Adding Project Testimonials to Your Site
Setting up the Agency theme is easier if you add testimonials first, before portfolio items. If you’ve got your testimonials in place you can easily add them to your portfolio items using custom fields. In your admin menu, open Testimonials › Add New.
Adding a testimonial is very simple, much the same as creating a new WordPress post. Use the client name for the title, and testimonial text as the body of the post. If you have a large number of testimonials, you can use WordPress tags for easier categorization.
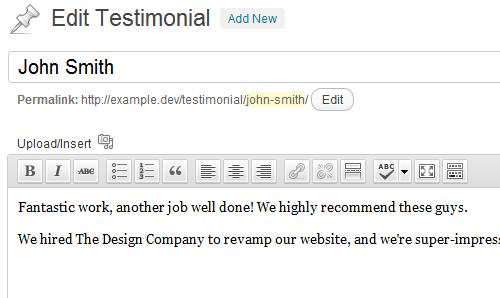
Tip: When you ask your client for a testimonial, try to get as much detail as possible. Aim for a short paragraph that specifies what you did and how it helped the client. This is more effective than a generic “Great work! kind of review.
Adding Projects to Your Portfolio
You’ll need to create a new WordPress page entitled “Portfolio”. Once the page is published, you can start adding projects. Each project will be nested under the “Portfolio” parent page.
To add new projects, open Portfolio › Add New. Include a title and whatever content you want to describe the project. You can use WordPress categories to organize your portfolio.
Add additional information about your work using the custom fields below the main text editor. Here you can attach a project testimonial from the previous step. These custom fields are useful, but not essential.
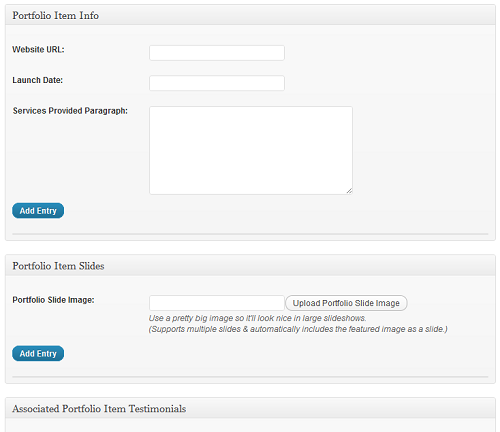
You should include a featured image for each project in your portfolio. If you want to add more than one image, use the Portfolio Item Slides custom field. Any images you upload here will be displayed in a rotating slider on the project page. Your featured image is automatically included in the slider.
Tip: Go for quality over quantity. Two or three good images will have more impact than six or seven average ones. Try to encapsulate each project in as few images as possible.
Managing Your Team
The Agency theme lets you display a profile of the employees in your company. In your admin menu, open Team Members › Add New. Use the person’s name as the title, then add a short bio in the body of the post.
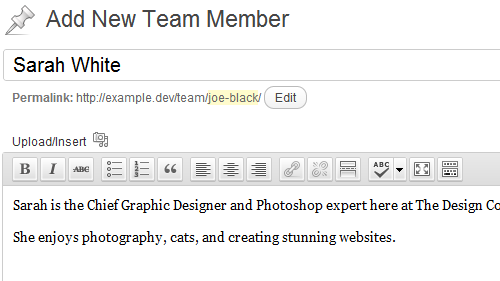
You can use the custom fields to add a job title and social media links for your team member.
Tip: Before you advertise your colleagues’ social media profiles, make sure they’re fit for public consumption. Keep it professional, and don’t link to any personal pages that you don’t want prospective clients to see.
The Contact Form
The Agency theme includes a built-in contact form, offering a quick and easy way for customers to get in touch.
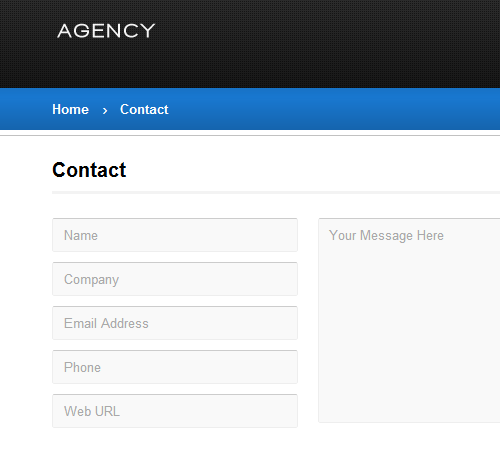
To add this form to your site, publish a new page and use the Contact Page Template. You can call the page “Contact” or “Get in Touch” or whatever you like.
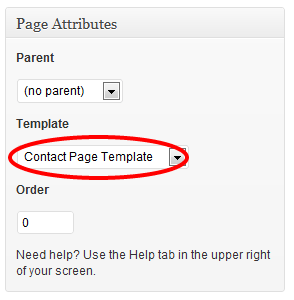
Contact form messages will be emailed to the address that you specified in Appearance › Theme Options. If none was listed, the form defaults to your WordPress admin email.
Extra Features
The Agency theme includes the jQuery-powered Nivo Slider, which you can add to any post or page with a WordPress shortcode.
You also get the WordPress Creation Kit, which is a developer tool for adding custom fields, custom post types, and new taxonomies to your site.
Agency Theme is very nice theme