Knowledge Base
Getting Started with Yumblog
Table of Contents
- Installation
- Make Your Site Look Like the Demo
- Custom Headers
- Featured Post Slider to Homepage
- Menus
- Social Menu
- Embedding Recipes inside Posts
- Add Recipe Library
- Custom Header Image
- Custom Backgrounds
- Link Post Format
- Theme Measurements
Installation
Add Theme
- From the Dashboard of your site, go to Appearance → Themes.
- Click the Add New button at the top of the screen.
- Click the Upload Theme button at the top of the screen.
- Select Choose File and find the .zip file of the theme, select it, and click Add, followed by Install Now.
- The theme will upload then ask whether you would like to Activate, view a Live Preview, or Return to Theme page. You can activate or view the theme from this screen or do it later in the Appearance → Themes screen.
Setup Automatic Updates
Automatic updates will enable you to know when bug fixes and updates have been pushed by the development team, and provide a notification in the WordPress Dashboard when they are available.
Warning:
Be aware that if you have made any modifications to the CSS or PHP files and run an update, all changes will be blown away! We highly suggest if you want to make theme modifications to do so by creating a Child Theme.
- From the Dashboard of your site, go to Appearance → Theme License.
- Paste the License Key you received in the purchase email from UpThemes into the License Key field.
- Click the Activate button and Save Changes. You’re good to go, and should receive notifications when theme updates are available!
Make Your Site Look Like the Demo
Note:
Yumblog recently got upgraded! Check out the new look! This section tells you how to create this new look.
- To create this new homepage, you will need a Page Builder, we recommend Beaver Builder. (It saves you so much time and you won’t believe how easy it is).
- Create a page with the Page Builder for your new homepage, go to Pages → Add New
- Choose the Layout Builder template
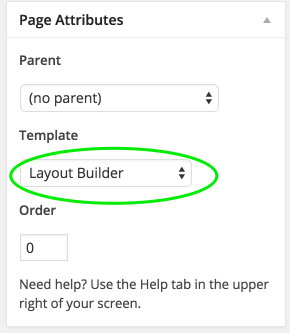
- Build your new page with easy drag and drop features of the Page Builder.
- To get this new look to show on your homepage, you will want to designate a Front page and Posts page. Do this by going to Settings → Reading, choose A static page and choose what page you want to show for each. Here’s what ours looks like:
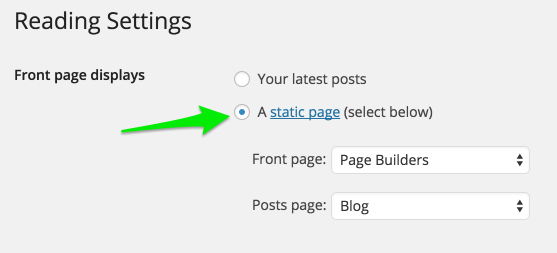
- Voila! You have a brand new look for your Yumblog!
Custom Headers
The header image dimensions are 385×102. When uploading a custom header image, it can be less than 385 pixels wide and less than 102 pixels tall but never wider or taller than the maximum dimensions.
Adding Featured Post Slider to Homepage
Note: You need to have the Jetpack plugin installed for the Featured Slider to work.
- In the WordPress admin, click Appearance → Customize.
- When the Theme Customizer opens you will see a sample of your site and a sidebar. Click the Featured Content tab.
- Enter a tag in the Tag Name field. The recommended tag to use is “featured” or “feature.”
- Click Save and Close.
- Click Posts and either “Edit” or “Quick Edit” a post you would like to be featured in the Slider.
- In the Tags section add the “Tag name” you added to the Featured Content Customizer earlier.
- Click Update. All done!
- The slider will appear once you have tagged at least two posts with the tag you just selected.
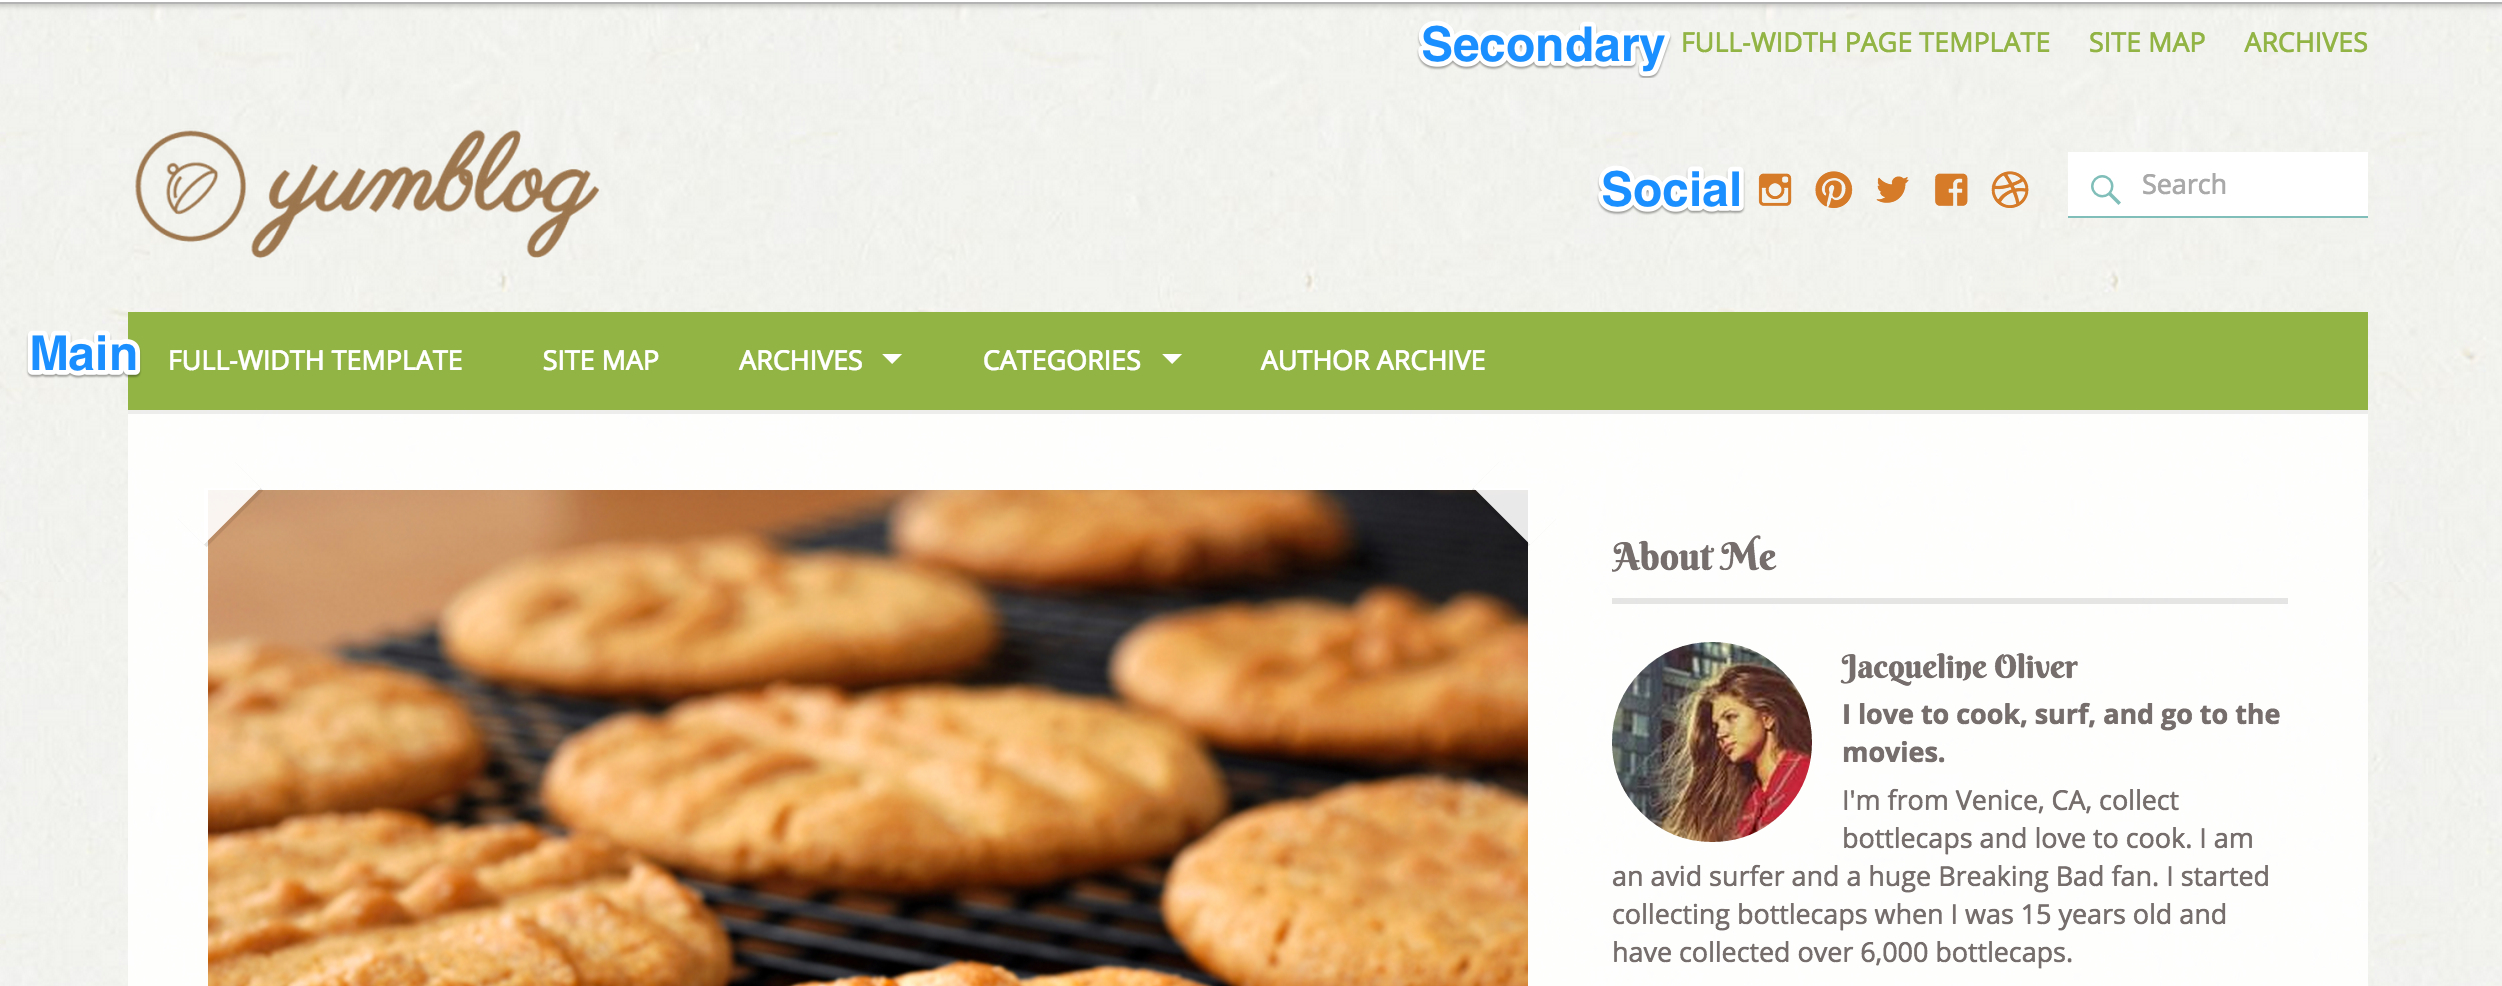
Menus
Yumblog supports 4 menus; Main, Secondary, Mobile, and Social.
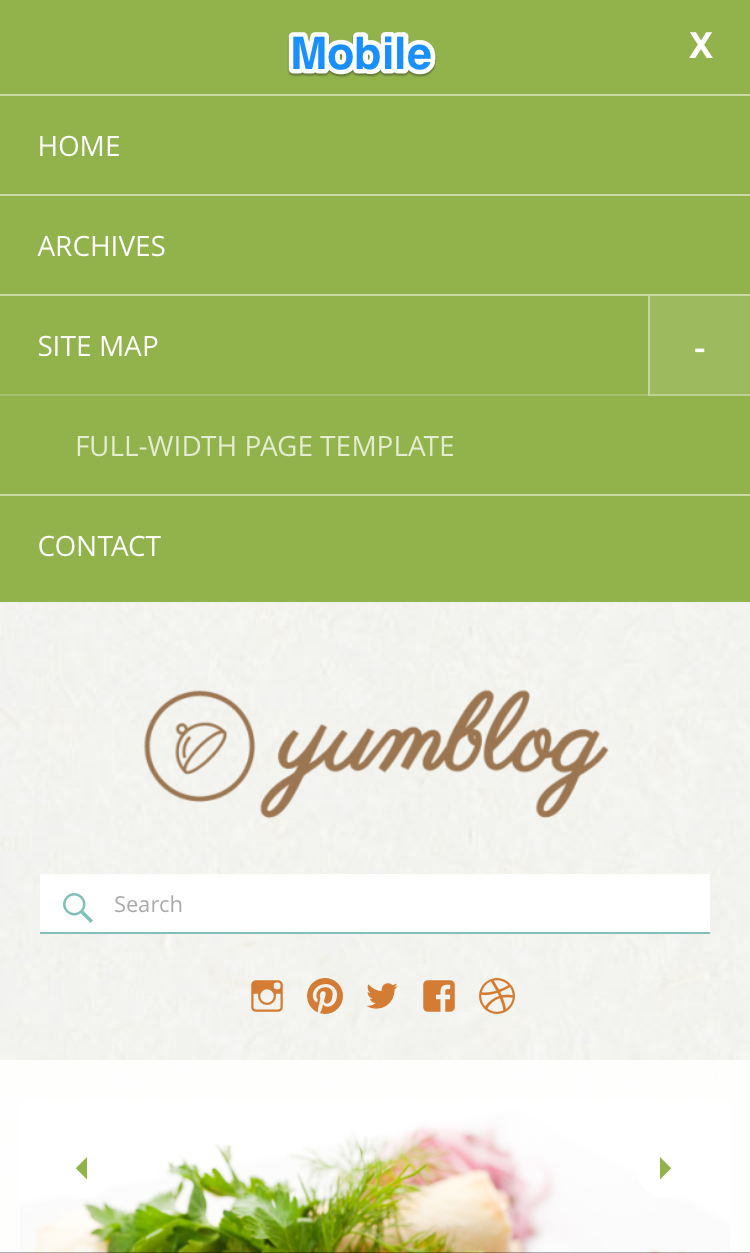
Note: This image of the Mobile Menu shows the menu expanded. You can create a unique menu for mobile by choosing the mobile location when creating a menu. The Main Menu displays on mobile when you don’t create a specific Mobile Menu.
Adding a Social Menu with Links
Yumblog theme contains a custom social menu with popular social menu icons that are displayed in the header. We currently support the following social networks:
- WordPress.org
- WordPress.com
- Dribbble
- Google+
- Github
- Tumblr
- YouTube
- Flickr
- Vimeo
- Codepen
Enabling the Social Menu
- Click Appearance → Menus
- Click Create New Menu
- Enter a menu name
- Check the box next to Social and click Save
- To the left of Menu Structure, click the Links tab
- Enter the link to one of your social media profiles here and click Add to Menu
- Enter link text that describes the link (i. e. Jim Henson’s Google+ Profile)
- Once you’ve added all your profiles, click Save Menu.
Embedding Recipes inside Posts
Recipes can be added to your posts with the Recipe Schema plugin. You must first install the plugin and then you will have the ability to embed recipes using the new Recipe meta box below your WYSIWYG content editor on the Edit Post screen.
Once you’ve added a recipe, it will now appear with a hand-written notepad style.
Add Recipe Library
Yumblog now comes with Cooked – A Super-Powered Recipe Plugin. A $25 value that’s baked right into Yumblog…(pun intended). Once you install or update Yumblog you will see this new plugin within your Installed Plugins. With Cooked you can create a page like this.
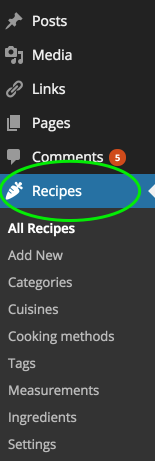
Once you activate the Cooked plugin you will see an added icon on the admin menu, called Recipes.
You will see lots of new settings and categories for your recipes. Once you add recipes here, make sure to add a page like this to view your recipes. You can do this by following these steps:
- Create a new page Pages → Add New
- In the text tab add this shortcode: [cooked-browse]
- Choose the Full Width – No Title template within Page Attributes
- Click Publish
Be sure to check out all the cool features Cooked has to offer!
Note:
If you are currently using the Recipe Schema we do not have a migration plugin to move to Cooked.
Custom Header Image
How to change the header image:
- Click on the Appearance → Header
- Upload a new image in the Select Image section by clicking ‘Choose File’ then ‘Upload’
Custom Backgrounds
Yumblog supports custom backgrounds.
To change the background image:
- Navigate to Appearance → Background.
- Select one of the existing images or upload a new one by clicking ‘Choose File’ then ‘Upload’
Link Post Format
When using the “link” post format, the first link found within the content of the post will replace the primary heading permalink from any archive or listing template. That means visitors will be able to click the title of a “link” post and go directly to the URL you linked.
Theme Measurements
- The content width for Yumblog is 560px wide.
- Featured images are set to display at 570px by 400px.
- Slider images are set to display at 960px by 500px.