Knowledge Base
Getting Started with Journalistic
Table of contents
- Installation
- Make your site look like the demo
- Included plugins
- Site logo in the menu
- Sidebar in Masthead widget area
- Navigation menu
- Adding social links
- How to setup a homepage slider
- Customizing colors
- Typography
- Typekit fonts
Installation
Add theme
- In your admin sidebar go to Appearance → Themes.
- Click the Add New button at the top of the screen.
- Click the Upload Theme button at the top of the screen.
- Select Choose File and find the .zip file of the theme, select it, and click Add, followed by Install Now.
- The theme will upload then ask whether you would like to Activate, view a Live Preview, or Return to Theme page. You can activate or view the theme from this screen or do it later in the Appearance → Themes screen.
Setup automatic updates
Automatic updates will enable you to know when bug fixes and updates have been pushed by the development team, and provide a notification in the WordPress Dashboard when they are available. Adding your license key will also activate Typekit fonts. The license key must be renewed annually to continue to receive bug fixes, updates, and the use of Typekit fonts.
Be aware that if you have made any modifications to the CSS or PHP files and run an update, all changes will be blown away! We highly suggest if you want to make theme modifications to do so by creating a Child Theme.
- In your admin sidebar go to Dashboard → UpThemes.
- Paste the license key you received in the purchase email from UpThemes into the input box labeled License Key.
- Click the Save Settings button.
- Click the Activate License button and you’re good to go! You should now receive notifications when theme updates are available.
Make your site look like the demo
- In your admin sidebar go to Appearance > Starter Kits.
- Under the “Select a kit to apply” heading select a starter kit from the drop-down menu.
Note:
Each starter kit automatically configures theme settings, widgets, menus and site content with just a single click. Your existing content is safe. Starter kits will not delete or modify any existing content, categories, images or other data. - Click the Apply Starter Kit button.
Note:
The import process may take several minutes. If it takes a long time, be patient. Do not click the Apply Starter Kit button more than once.
Included plugins
Here are the plugins we include with the theme. If you prefer, you can use the theme without using these plugins.
- Aesop Story Engine – Adds a set of components for writers to craft immersive experiences in their articles and stories.
- Beaver Builder Plugin (Lite Version) – Adds a drag-and-drop frontend page builder.
- Ninja Forms – Adds a webform builder.
- Subtitles – Adds the ability to add a subtitle to posts and pages.
Site logo in the menu
The default site logo is your gravatar. The theme will automatically detect the gravatar (if one exists) and set it as the site logo upon initial theme activation. If you apply a starter kit the site logo will be set to the site logo used by our demo website.
How to change the site logo image
In your admin sidebar go to Appearance → Customize, click the Site Identity tab, then under the “Current logo” heading click the Add new image button to upload a custom site logo. The optimal dimensions for a site logo image are 240×240 pixels.
![]()
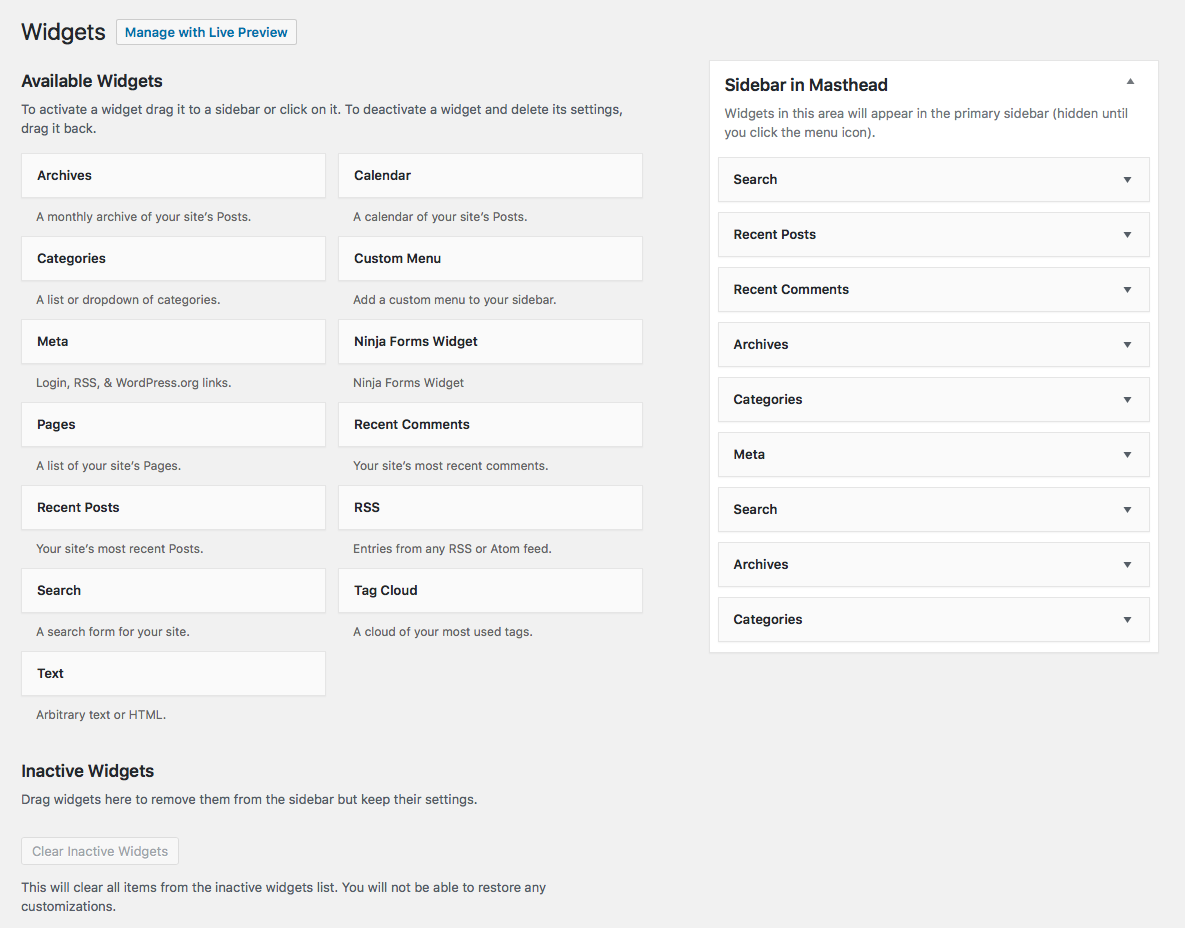
Sidebar in Masthead widget area
Journalistic comes with a widget area for managing site-wide widgets. Located in the masthead, this sidebar is hidden from view until the MENU button is clicked. The “Sidebar in Masthead” widget area can be customized (in Appearance → Widgets) to include any widget. We recommend you add widgets here that enable visitors to navigate your site.
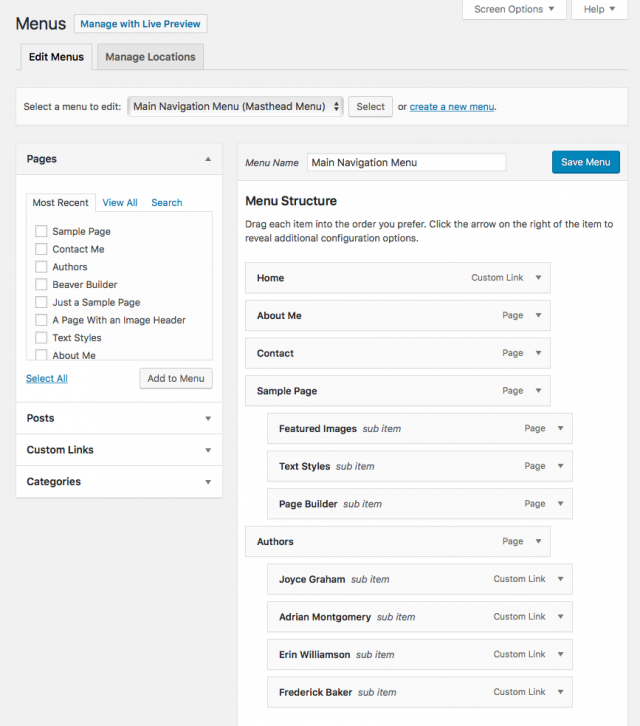
Navigation menu
Journalistic has a navigation menu location in the Sidebar in Masthead widget area.
Setting up a navigation menu
- In your admin sidebar go to Appearance → Menus.
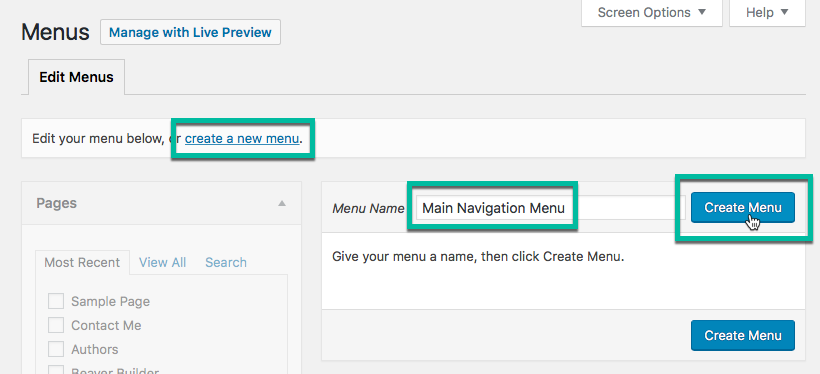
- Click the create a new menu link, give your menu a name and then click the Create Menu button.

- Add menu items from the left side of the page. For example:
- Under the “Menu Settings” heading set the Display location option to “Masthead Menu” and then click the Save Menu button to save your new navigation menu.
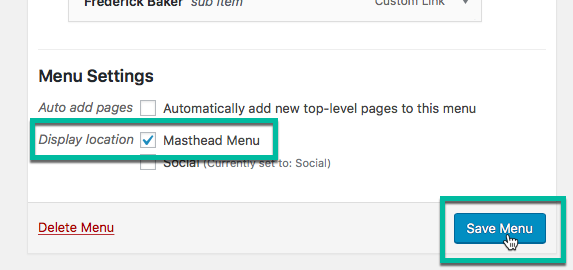
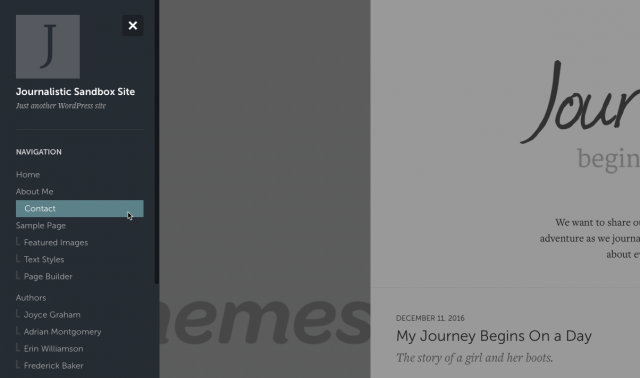
- Head over to the homepage of your site and click the MENU button to check out your navigation menu.


Adding social links
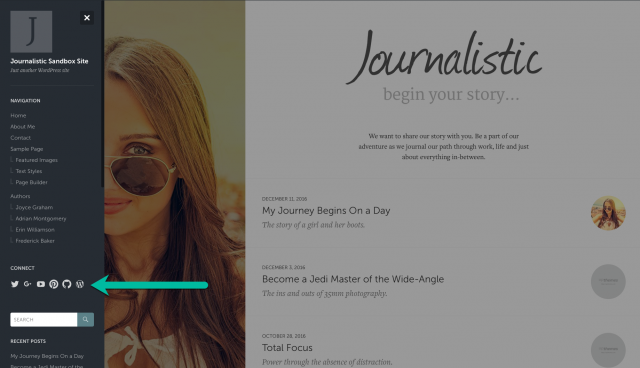
Journalistic has a social menu location in the Sidebar in Masthead widget area. The social menu items will show up as icons below the navigation menu.
Setting up a social menu
- In your admin sidebar go to Appearance → Menus.
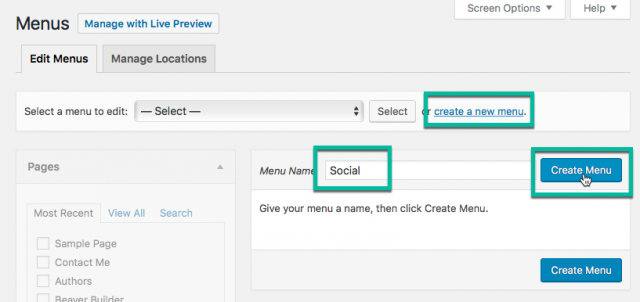
- Click the create a new menu link, give your menu a name and then click the Create Menu button.
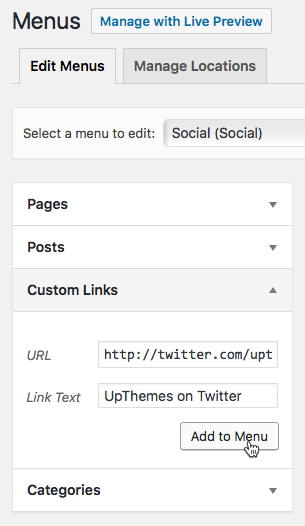
- On the left of the page, click on the Custom Links tab to open it.
- In the input box labeled URL enter a link to one of your social media profiles, and in the input box labeled Link Text add whatever text you like that describes this menu item. Then click the Add to Menu button.
- Add any other social links in the same way.
- Under the “Menu Settings” heading set the Display location option to “Social” and then click the Save Menu button to save your new social links menu.

- Head over to the homepage of your site and click the MENU button to check out your social links menu.


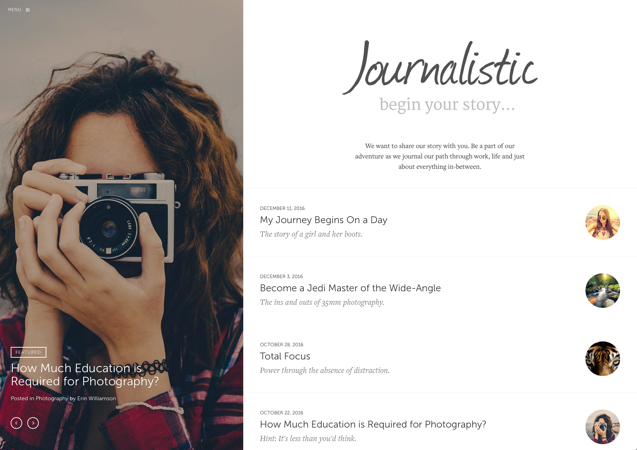
Homepage slider
Showcase your favorite work by setting content in the Featured Content Slider area of the homepage.
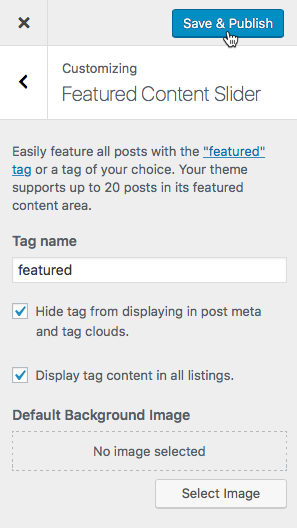
How to setup a Featured Content Slider
- In your admin sidebar go to Appearance → Customize and click on the Featured Content Slider tab.
- Add a word to the Tag name input box. We suggest using the word
featuredto keep things simple since this is the Featured Content Slider. - Click the Save & Publish button and close the Customizer panel.
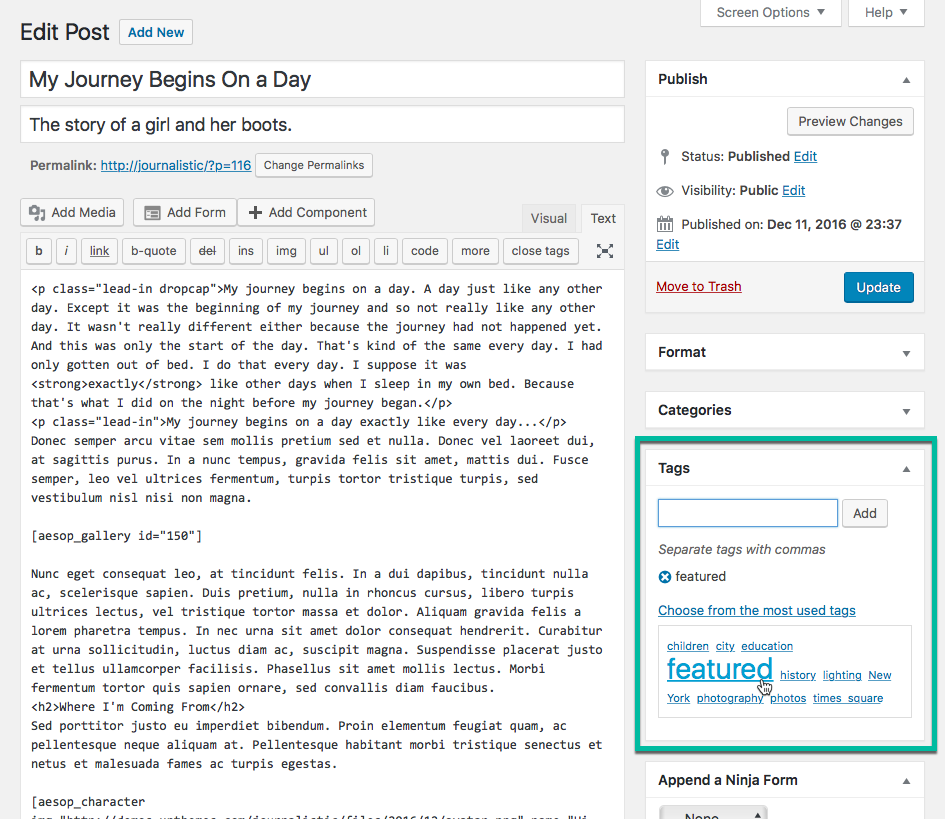
- To add a post to the Featured Content Slider edit the post you would like to add and add a tag using the custom word from Step 2.

- Update the post and head over to the homepage of your site to check out the super-duper awesome Featured Content Slider!
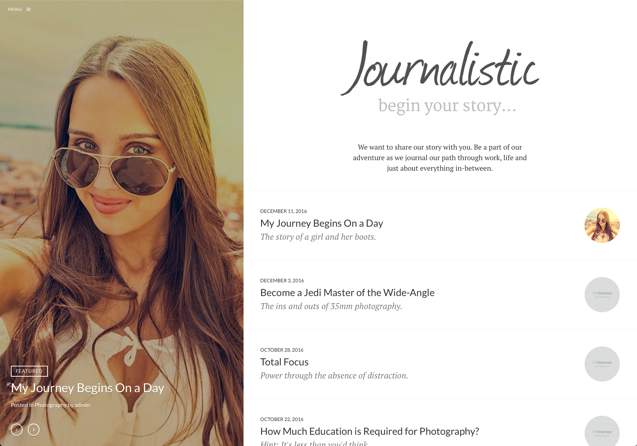
How to set a featured image
The image that will show up in the Featured Content Slider on the Homepage is whatever image that is set as the featured image for a post.
- Edit a post that has been added to the Featured Content Slider.
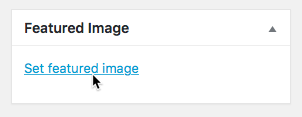
- In the column to the right you will see a Featured Image metabox. Click the Set featured image link.
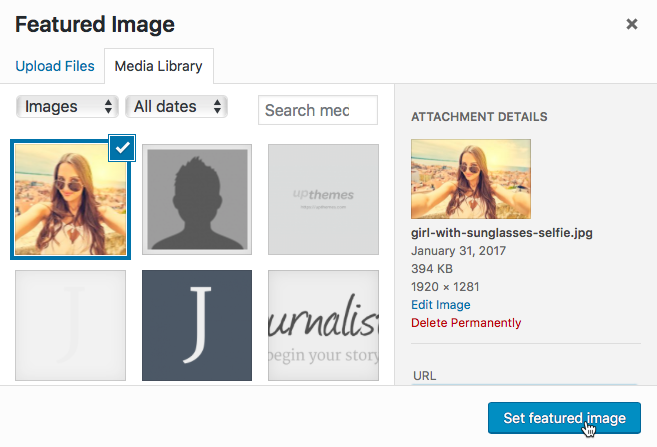
- Upload an image, or select an image in your Media Library, then click the Set featured image button.
- Click the Update button to save your changes. Remember, the post must have the correct tag associated with it for the item to be displayed in the Featured Content Slider.

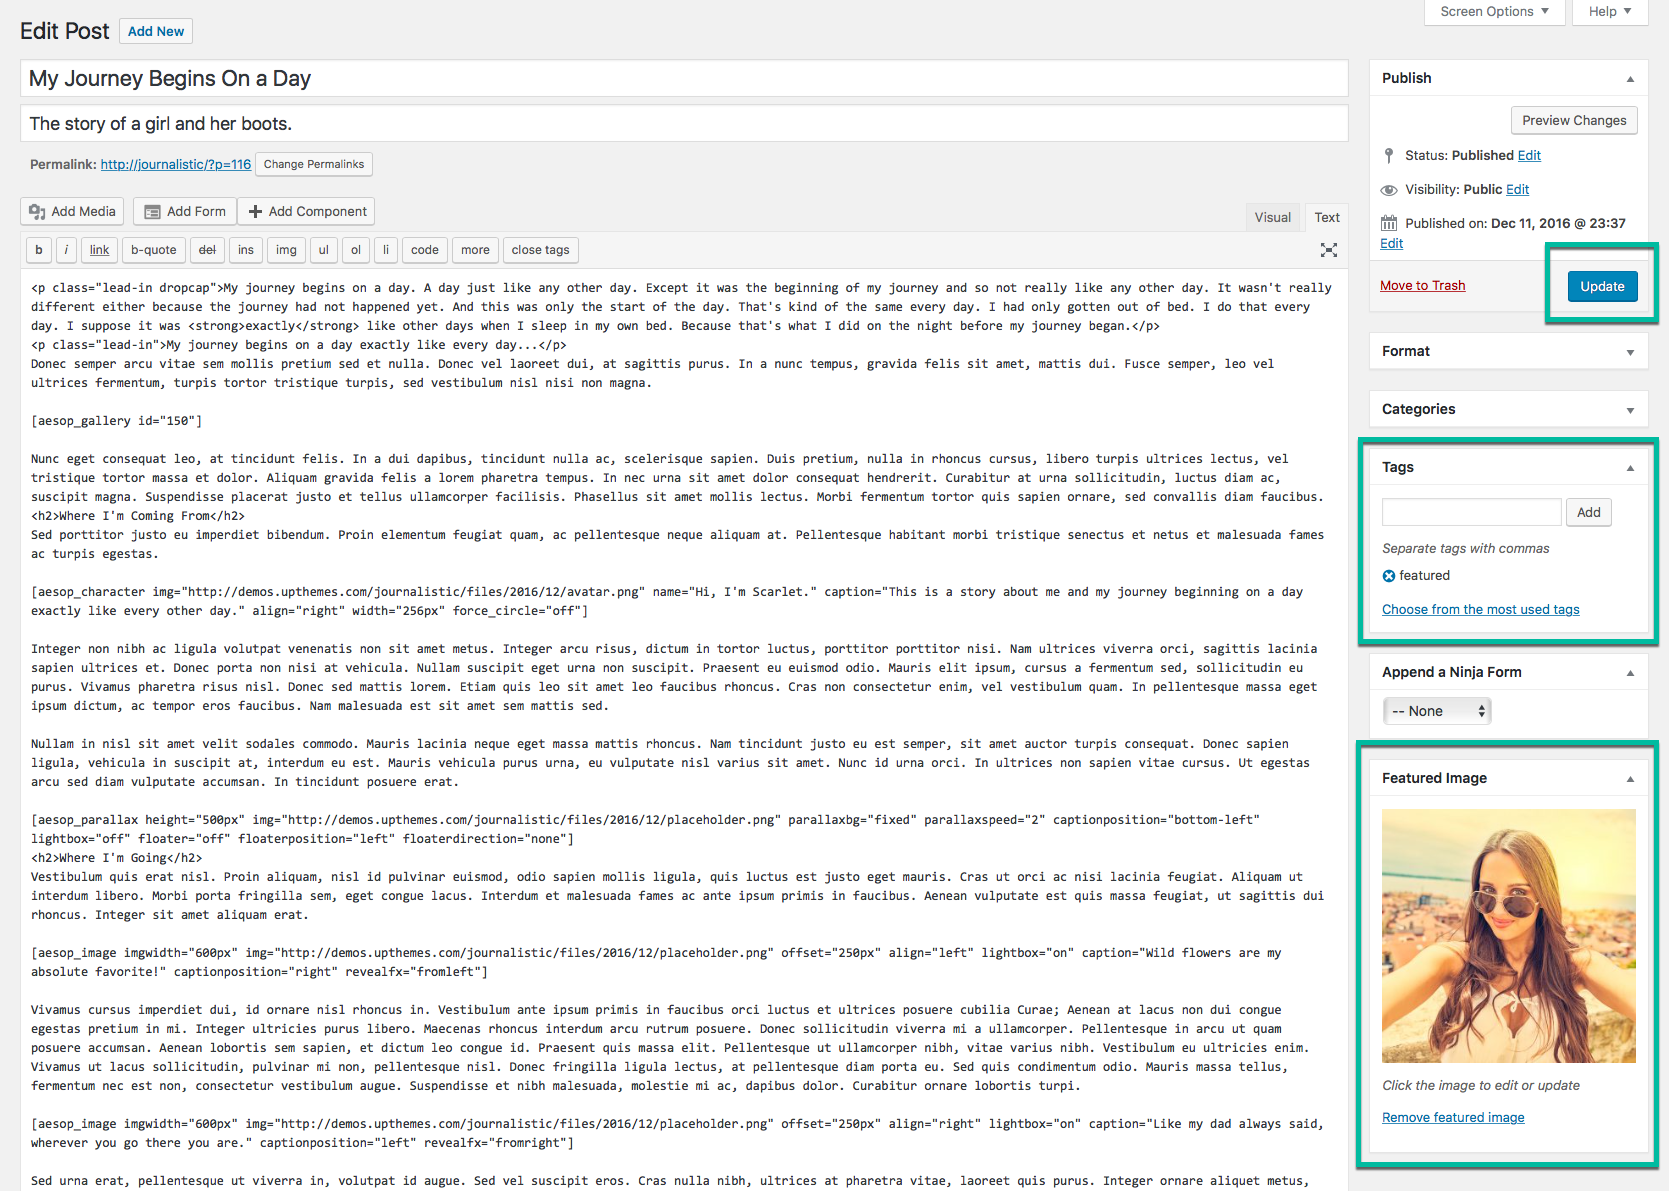
For featured images we suggest using large images to ensure the image properly fills the featured image area above the post. As a general guideline, anything at a 5:4 ratio should work just fine as long as the width of the image is greater than 1000px. So, for example, 1024×820, 1280×1024, 1600×1280, 1920×1536.
Customizing colors
Add your personal style to your site by adding the colors that represent you.
Colors
- In your admin sidebar go to Appearance → Customize and click on the Colors tab.
- To use custom colors set the Enable Custom Styles option to “Yes” to see more options.
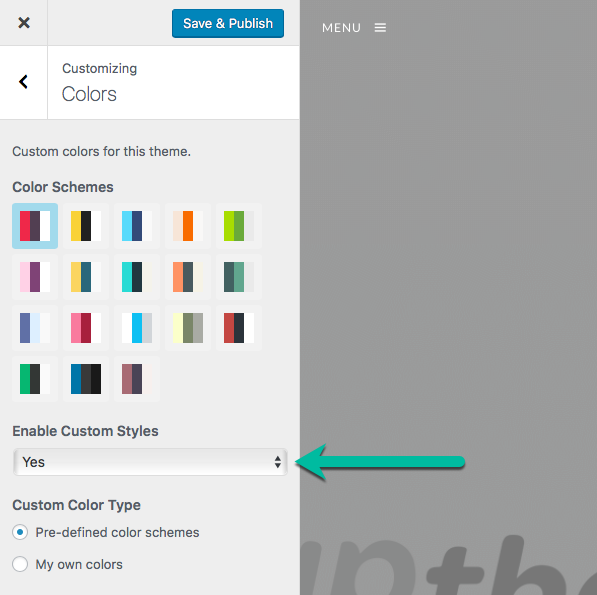
- Choose one of the pre-defined color schemes, or select the “My own colors” option to set your own custom colour scheme.
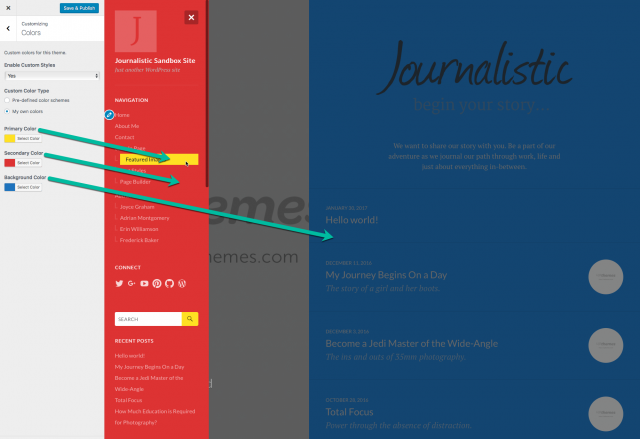
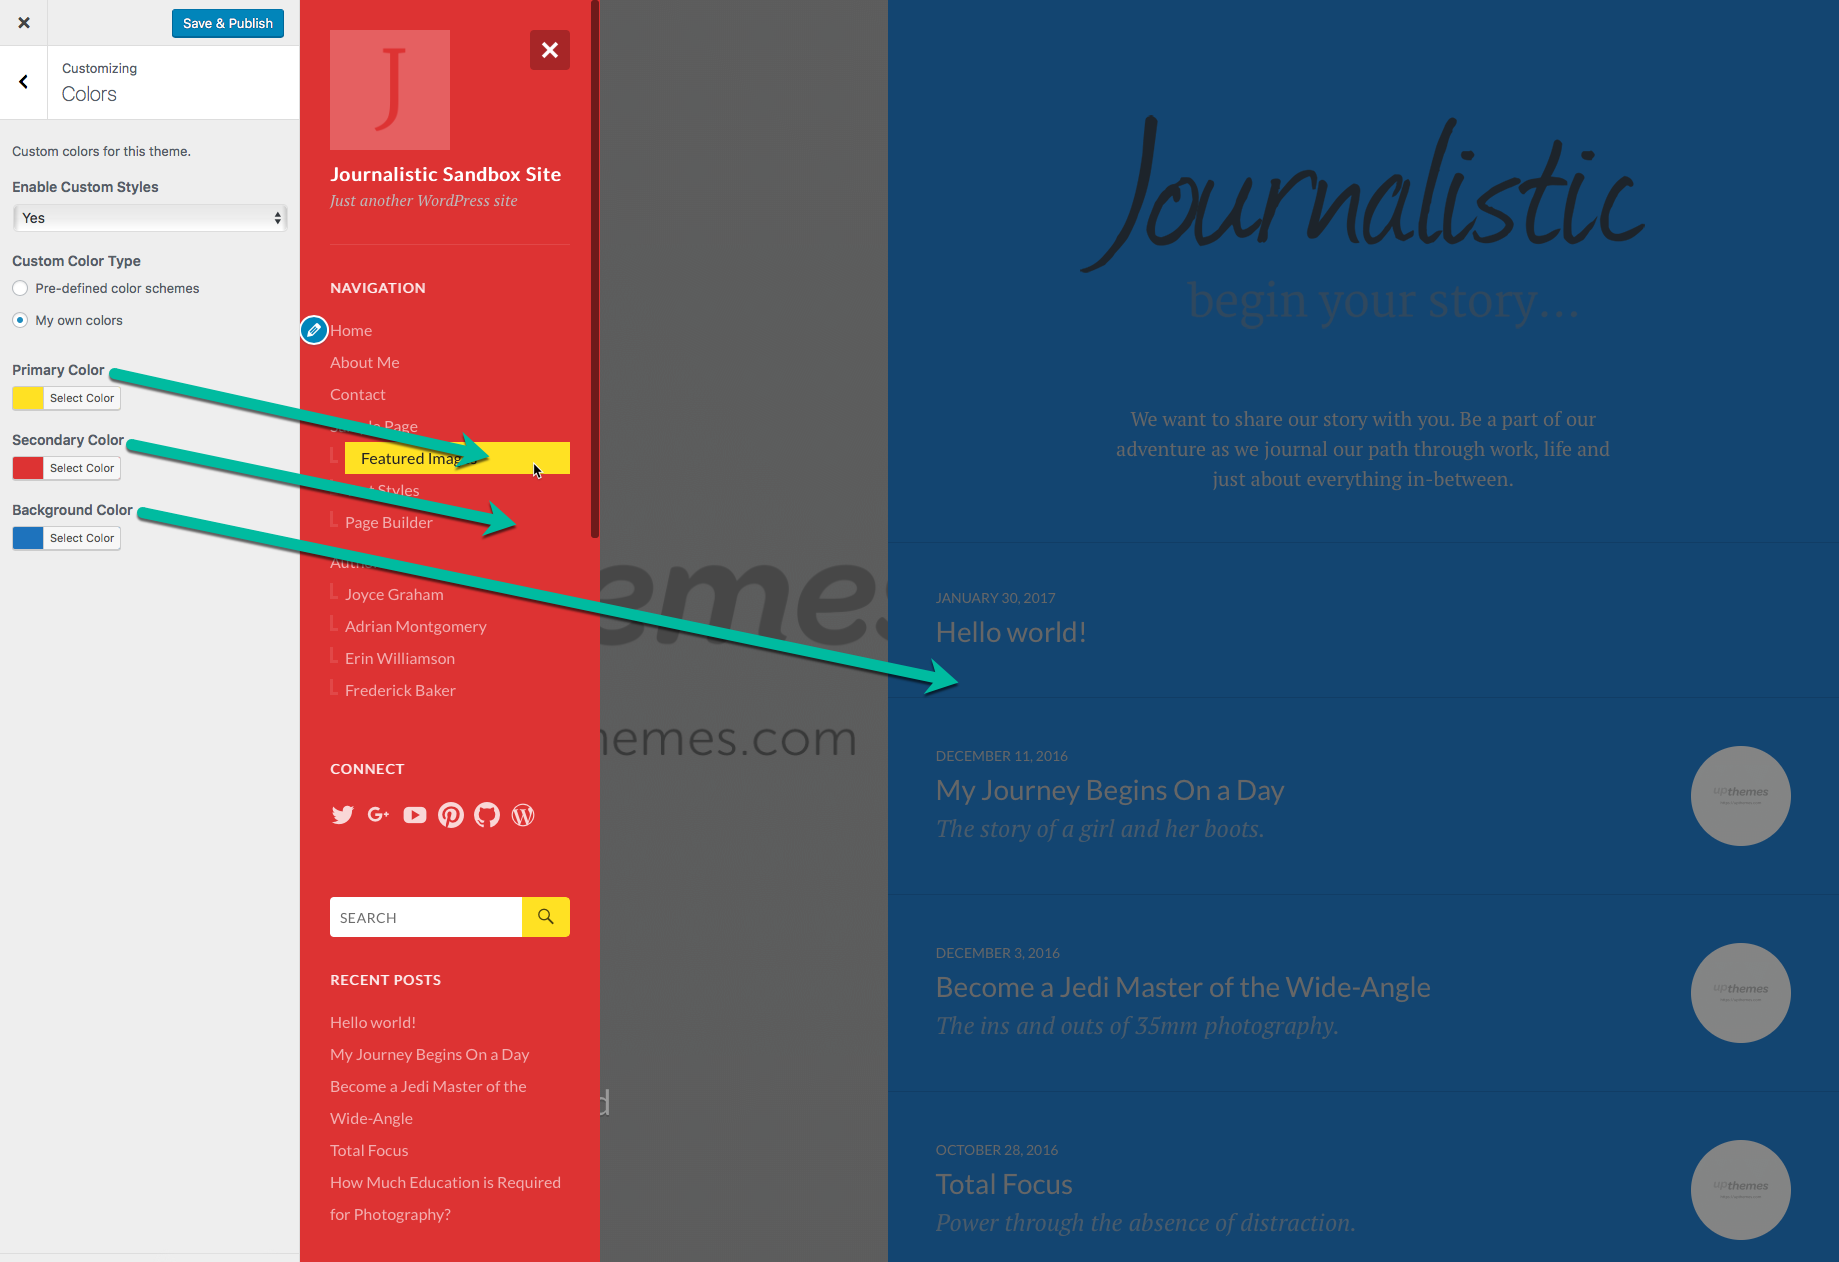
- With “My own colors” selected you can choose three colors: primary, secondary and background. You will see these colors throughout your site. For example, the primary color can be seen when you hover over the featured slider or go to the menu; the secondary color can be seen when you open up the menu in the sidebar in the masthead.
Typography
Journalistic offers typographic customizations to make articles look more intriguing by adding paragraphs of call-out text and drop caps.
Adding drop caps to an article
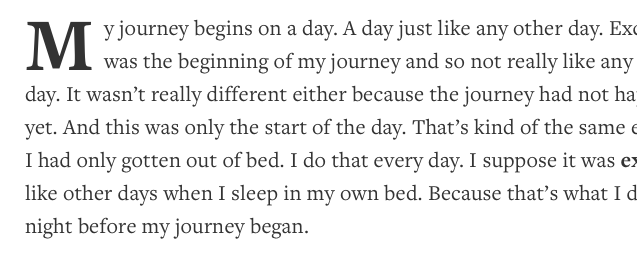
This theme comes with a dropcap class that can be applied to any paragraph element in the content of your articles. To add it, switch to the Text editor tab, then wrap an existing paragraph of text with a paragraph element like so:
<p class="dropcap">This is a paragraph of text that I want to have a drop-cap for.</p>Adding the drop cap will start your paragraph like this:
Adding a lead-in paragraph
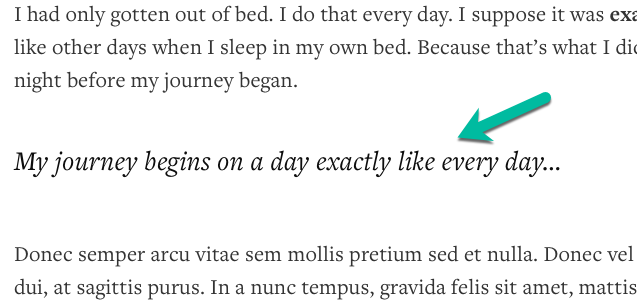
This theme comes with a lead-in class that can be applied to any paragraph element in the content of your articles. This style makes the entire paragraph larger by 10% and adds an italic style. To add it, switch to the Text editor tab, then wrap an existing paragraph of text with a paragraph element like so:
<p class="lead-in">This is a paragraph of text that I want to have a lead-in for.</p>Adding this class will make your lead-in paragraph look like this:
Typekit Fonts
Journalistic comes with the Typekit fonts Museo Sans and Freight Text Pro built into the theme for excellent typographic balance. The best part is you don’t have to have a Typekit account for this awesomeness!
Remember, in order to use Typekit fonts, first activate your license key. The license key must be renewed annually to continue to use Typekit fonts.